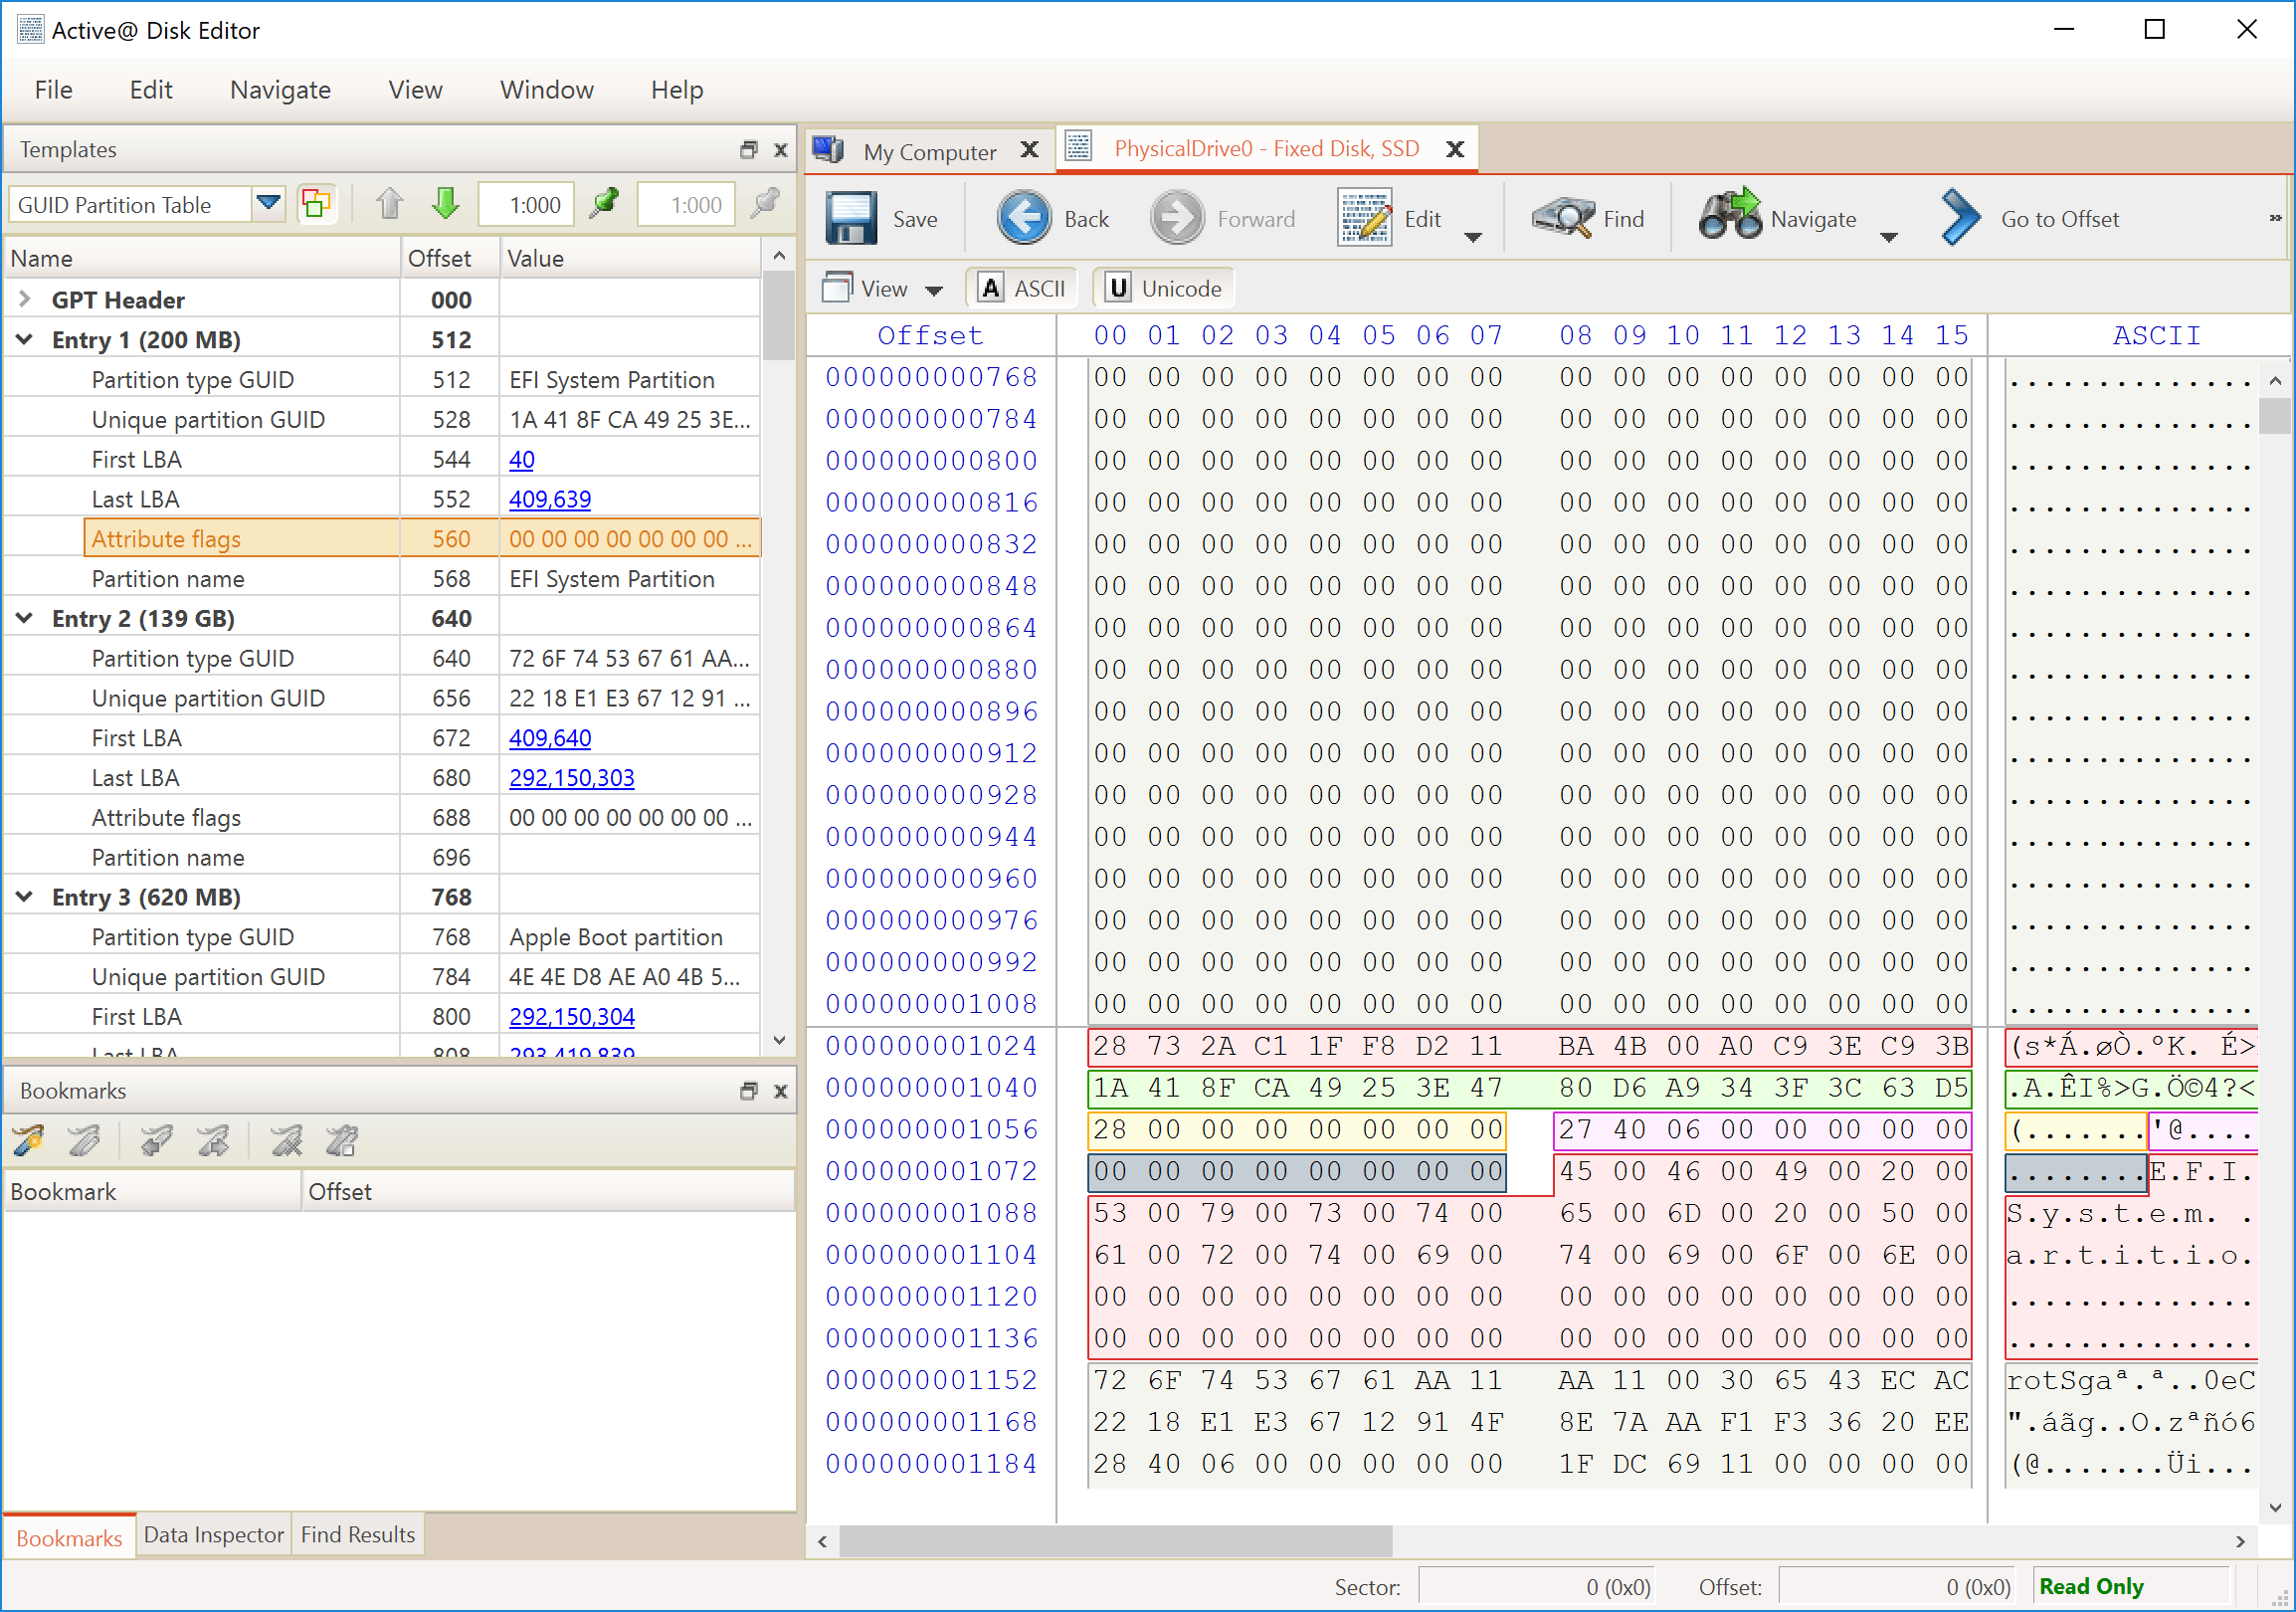
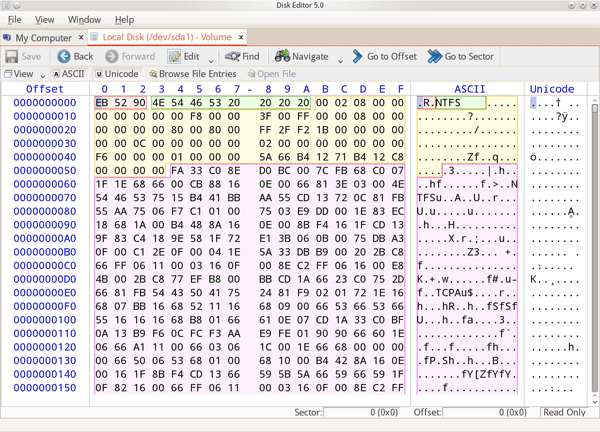
Active@ Disk Editor is a utility created to help you edit a disk's raw sector data. The editor displays information in binary and text modes at the same time. You can use this view to analyze the contents of data storage structure elements such as hard disks and partitions.
The Open Disk dialog box displays a list of available storage devices and a list of logical drives.
The Data Inspector displays whatever is currently under the cursor. It does so in ten different formats. This can help you interpret data as displayed in Hexadecimal View. If you choose to view the Data Inspector, the window always appears docked to the left panel when you are using Active@ Disk Editor.
A destructive virus can damage the MBR (Master Boot Record) and make it impossible to start the computer from the hard disk. When you start the computer, the code in the MBR executes before the operating system is started. If the MBR is corrupted, the operating system cannot start. The location of the MBR is always track (cylinder) 0, side (head) 0, and sector 1. You may use Active@ Disk Editor to repair a damaged MBR.
To start Active@ Disk Editor:
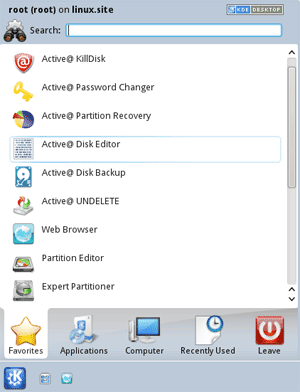
1. From the Active@ LiveCD shell, click Start > Favorites > Active@ Disk Editor.
 Disk Editor device panel opens.
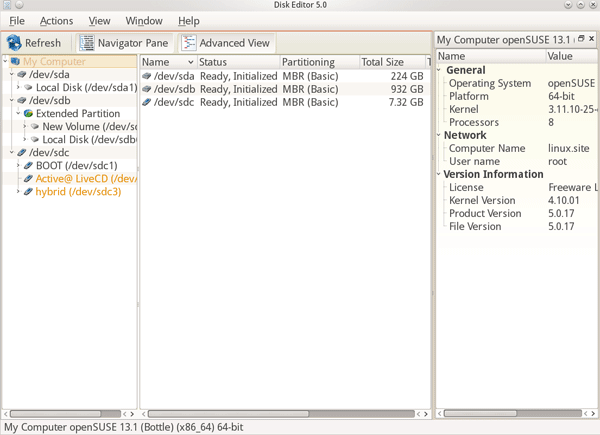
2. Right click on a device or a logical drive to select it.
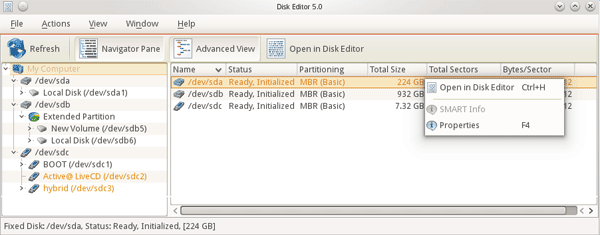
3. Click Open. The Active@ Disk Editor workspace appears.
4. To browse through the content of the open item:
5. To toggle the focus between hexadecimal and text panes, press TAB.
When you start Active@ Disk Editor, the default view shows the Info Pane on the right and the editing pane on the left, with a Status Pane across the bottom. You can change the default configuration of the workspace so that it opens each time with your custom settings.
To change Active@ Disk Editor default options:
1. In Active@ Disk Editor, click View toolbar button. The drop-down list of available views appears.
2. You can show or hide the Templates View, Properties View, Data Inspector View, Bookmarks View and Find Results View at the left of the workspace, for example for the Templates View:

3. To change the default size of the font in the editing pane, select a size from the Text size drop-down list.
4. To toggle the display of the current address offset between hexadecimal and decimal, from the View menu, choose Hexadecimal Offset.
To navigate to key sectors on the open item:
1. To open a different device or logical drive:

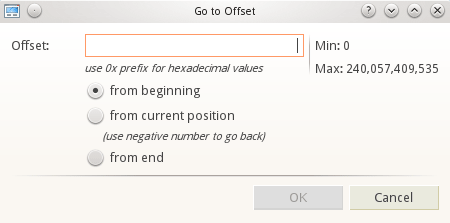
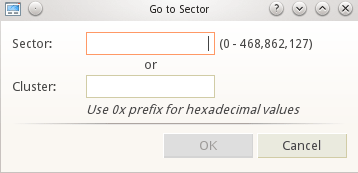
2. To jump to a named sector or offset:
3. To jump to the volume boot sector, from the Navigate menu, choose Boot Sector (0). The boot sector appears.
4. To jump to the partition table, from the Navigate menu, choose Partition Table. The partition table sector appears in the editing panel.
Note! This only applies to physical drives (HDDS, SSDs, etc) and not logical drives such as partitions or volumes.
5. To edit the partition table:
6. From the Navigate menu, you may jump to many named sectors. These sectors are listed with the sector name and a number that is unique to your hard drive.
You can paste code or text from the Windows Clipboard. Use these tools to copy and paste selected code.
To use editing tools:
1. To toggle whether or not to allow editing in the editing pane, from the Edit menu, choose Allow Edit content.

2. To select a whole area:
3. To select part of a sector, click and drag the cursor over some code. You can select the code this way in either the HEX area or in the text area.
4. To copy HEX data, if you have selected code in the HEX area, from the Edit menu, choose Copy Formatted and selected HEX data will be copied to the Clipboard.
5. To copy text data, if you selected code in the text area, from the Edit menu, choose Copy. Selected text data is copied to the Clipboard.
6. To paste data from the Clipboard:
7. To discard all changes that you have not saved yet (if any were made) and roll back settings to the way they were at the last save, from the Edit menu, click Revert Changes.
8. To save changes, click Save.
Note! By default, you cannot edit content in Active@ Disk Editor. You must choose Allow Edit Content in the Edit menu in order to change the code.
Note! For detailed instructions, see the Active@ Disk Editor Documentation.